
![]()
![]()
![]()
![]()
Setting up Custom GMAX interfaces to improve your workflow.
Note: Most of these images are scaled
down to fit. If you want to see a more detailed view then use your browser's
"view image" command.
|
As you work in GMAX you’ll often find yourself repeating the same tasks over and over, switching between tabs to get to functions or commands, clicking and clicking away forever over and over … what a drag! And what a waste of time. Luckily for us, the GMAX team has given us the ability to create, save and refine our own custom program interfaces ( what I’ll refer to as the “workspace” ) within the software. This way, you can create customized collections of commands, put them where you want, and really take control of the software. Imagine… a set of commands for modeling that puts all the one’s you need one one toolbar, always at your fingertips. Another set for animation, maybe another specific to a GamePak your using. It’s a reality, and it’s not so bad to set up. Let’s get started! |
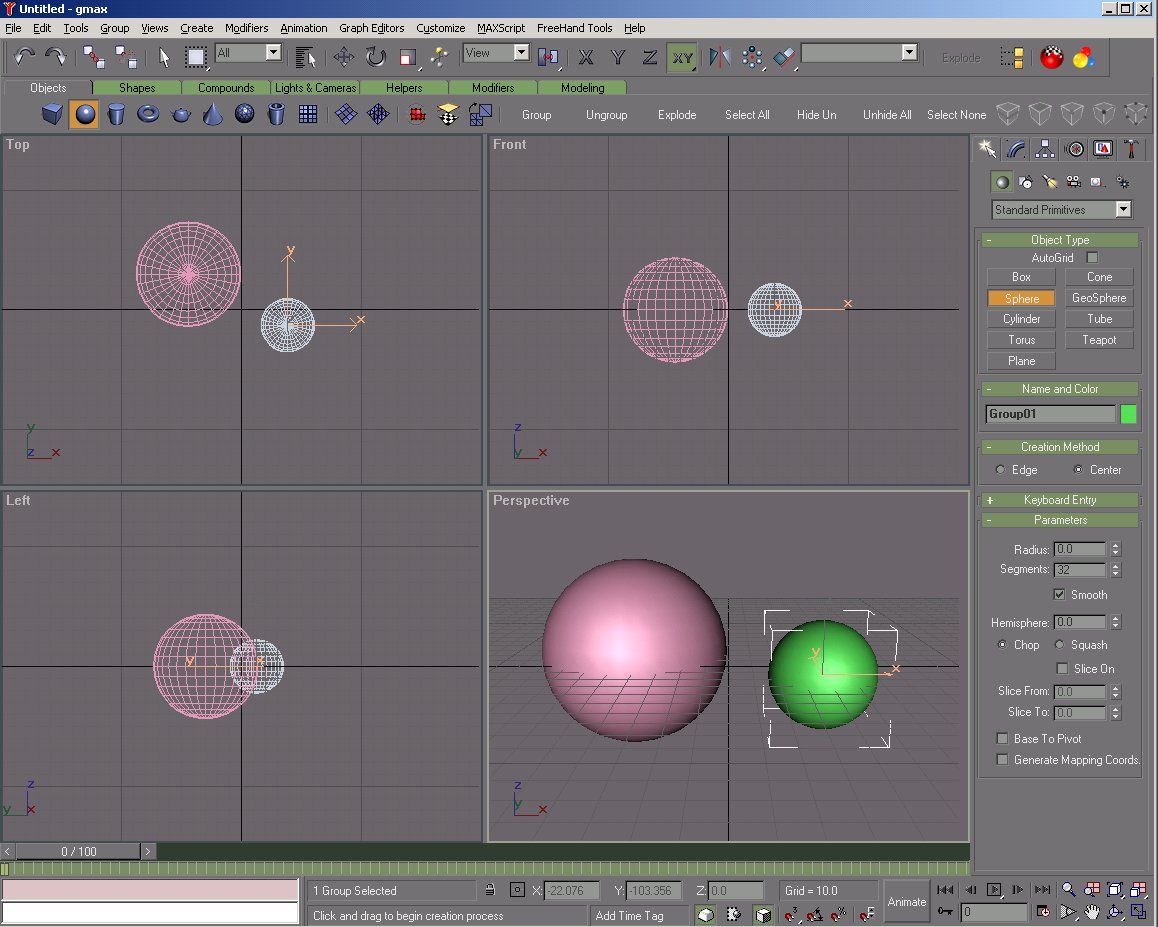 |
| Here’s a photo of the current workspace I use for modeling |
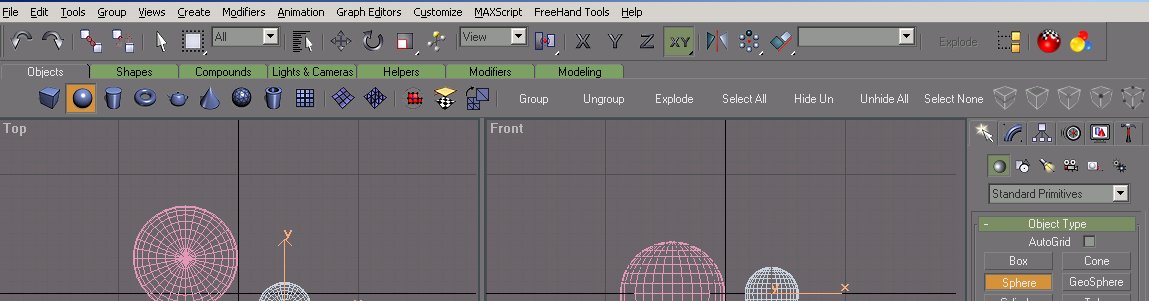 |
| Here’s a closer look at the toolbar.
See all those extra icons and commands on the Object toolbar? From one spot I can create an object, convert it to an editable mesh, UVW map, perform grouping and selection functions and more. It makes this part of the modeling process much faster. All righty then, enough about how amazing it is… here’s how to do it! |
 |
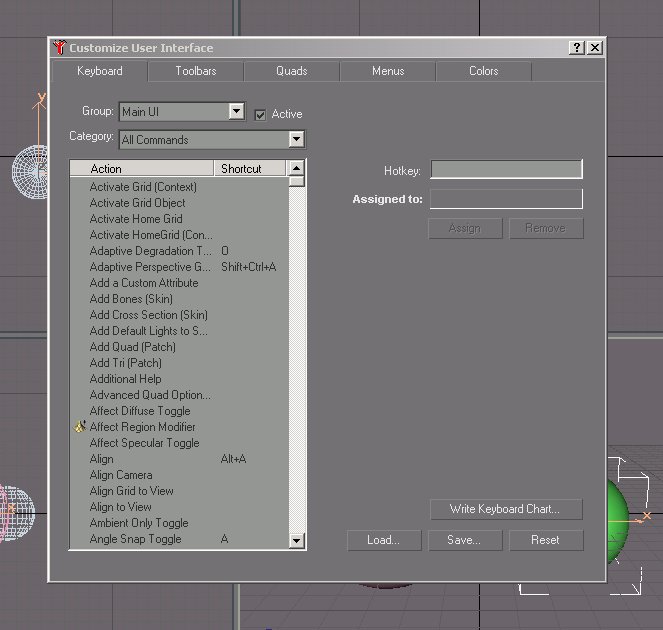
| Step 1: Press Customize, then press Custom User Interface ( referred to in here as the “CUI”)
you’ll have a window pop open that looks like this: This is where we do it! It’s easy! |
 |
|
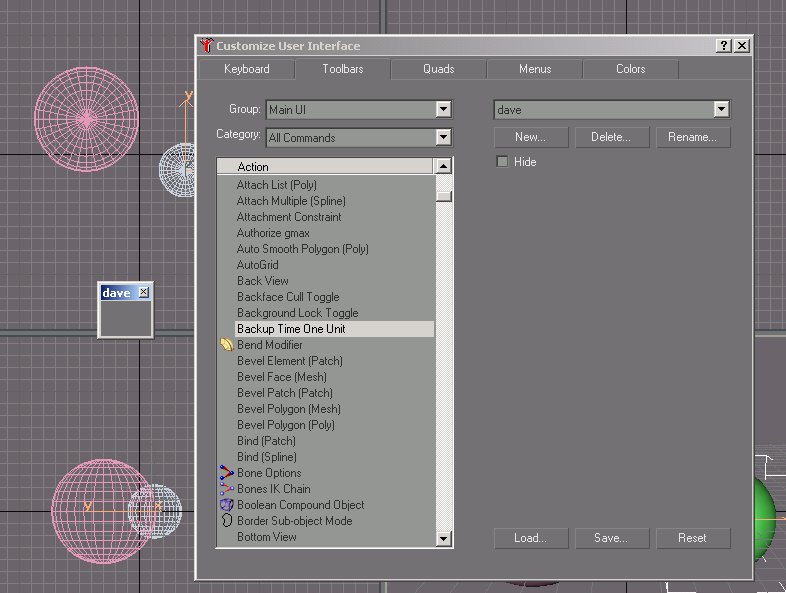
Step 2: Let’s make a new toolbar. On the CUI tabs, press ‘toolbar’, then press the ‘new’ button. Anew window will open asking you for a name for the toolbar. Give it any name you like, then press ‘ok’. A small box will appear on the screen with the name of your toolbar across the top... |
 |
|
|